Introduction:
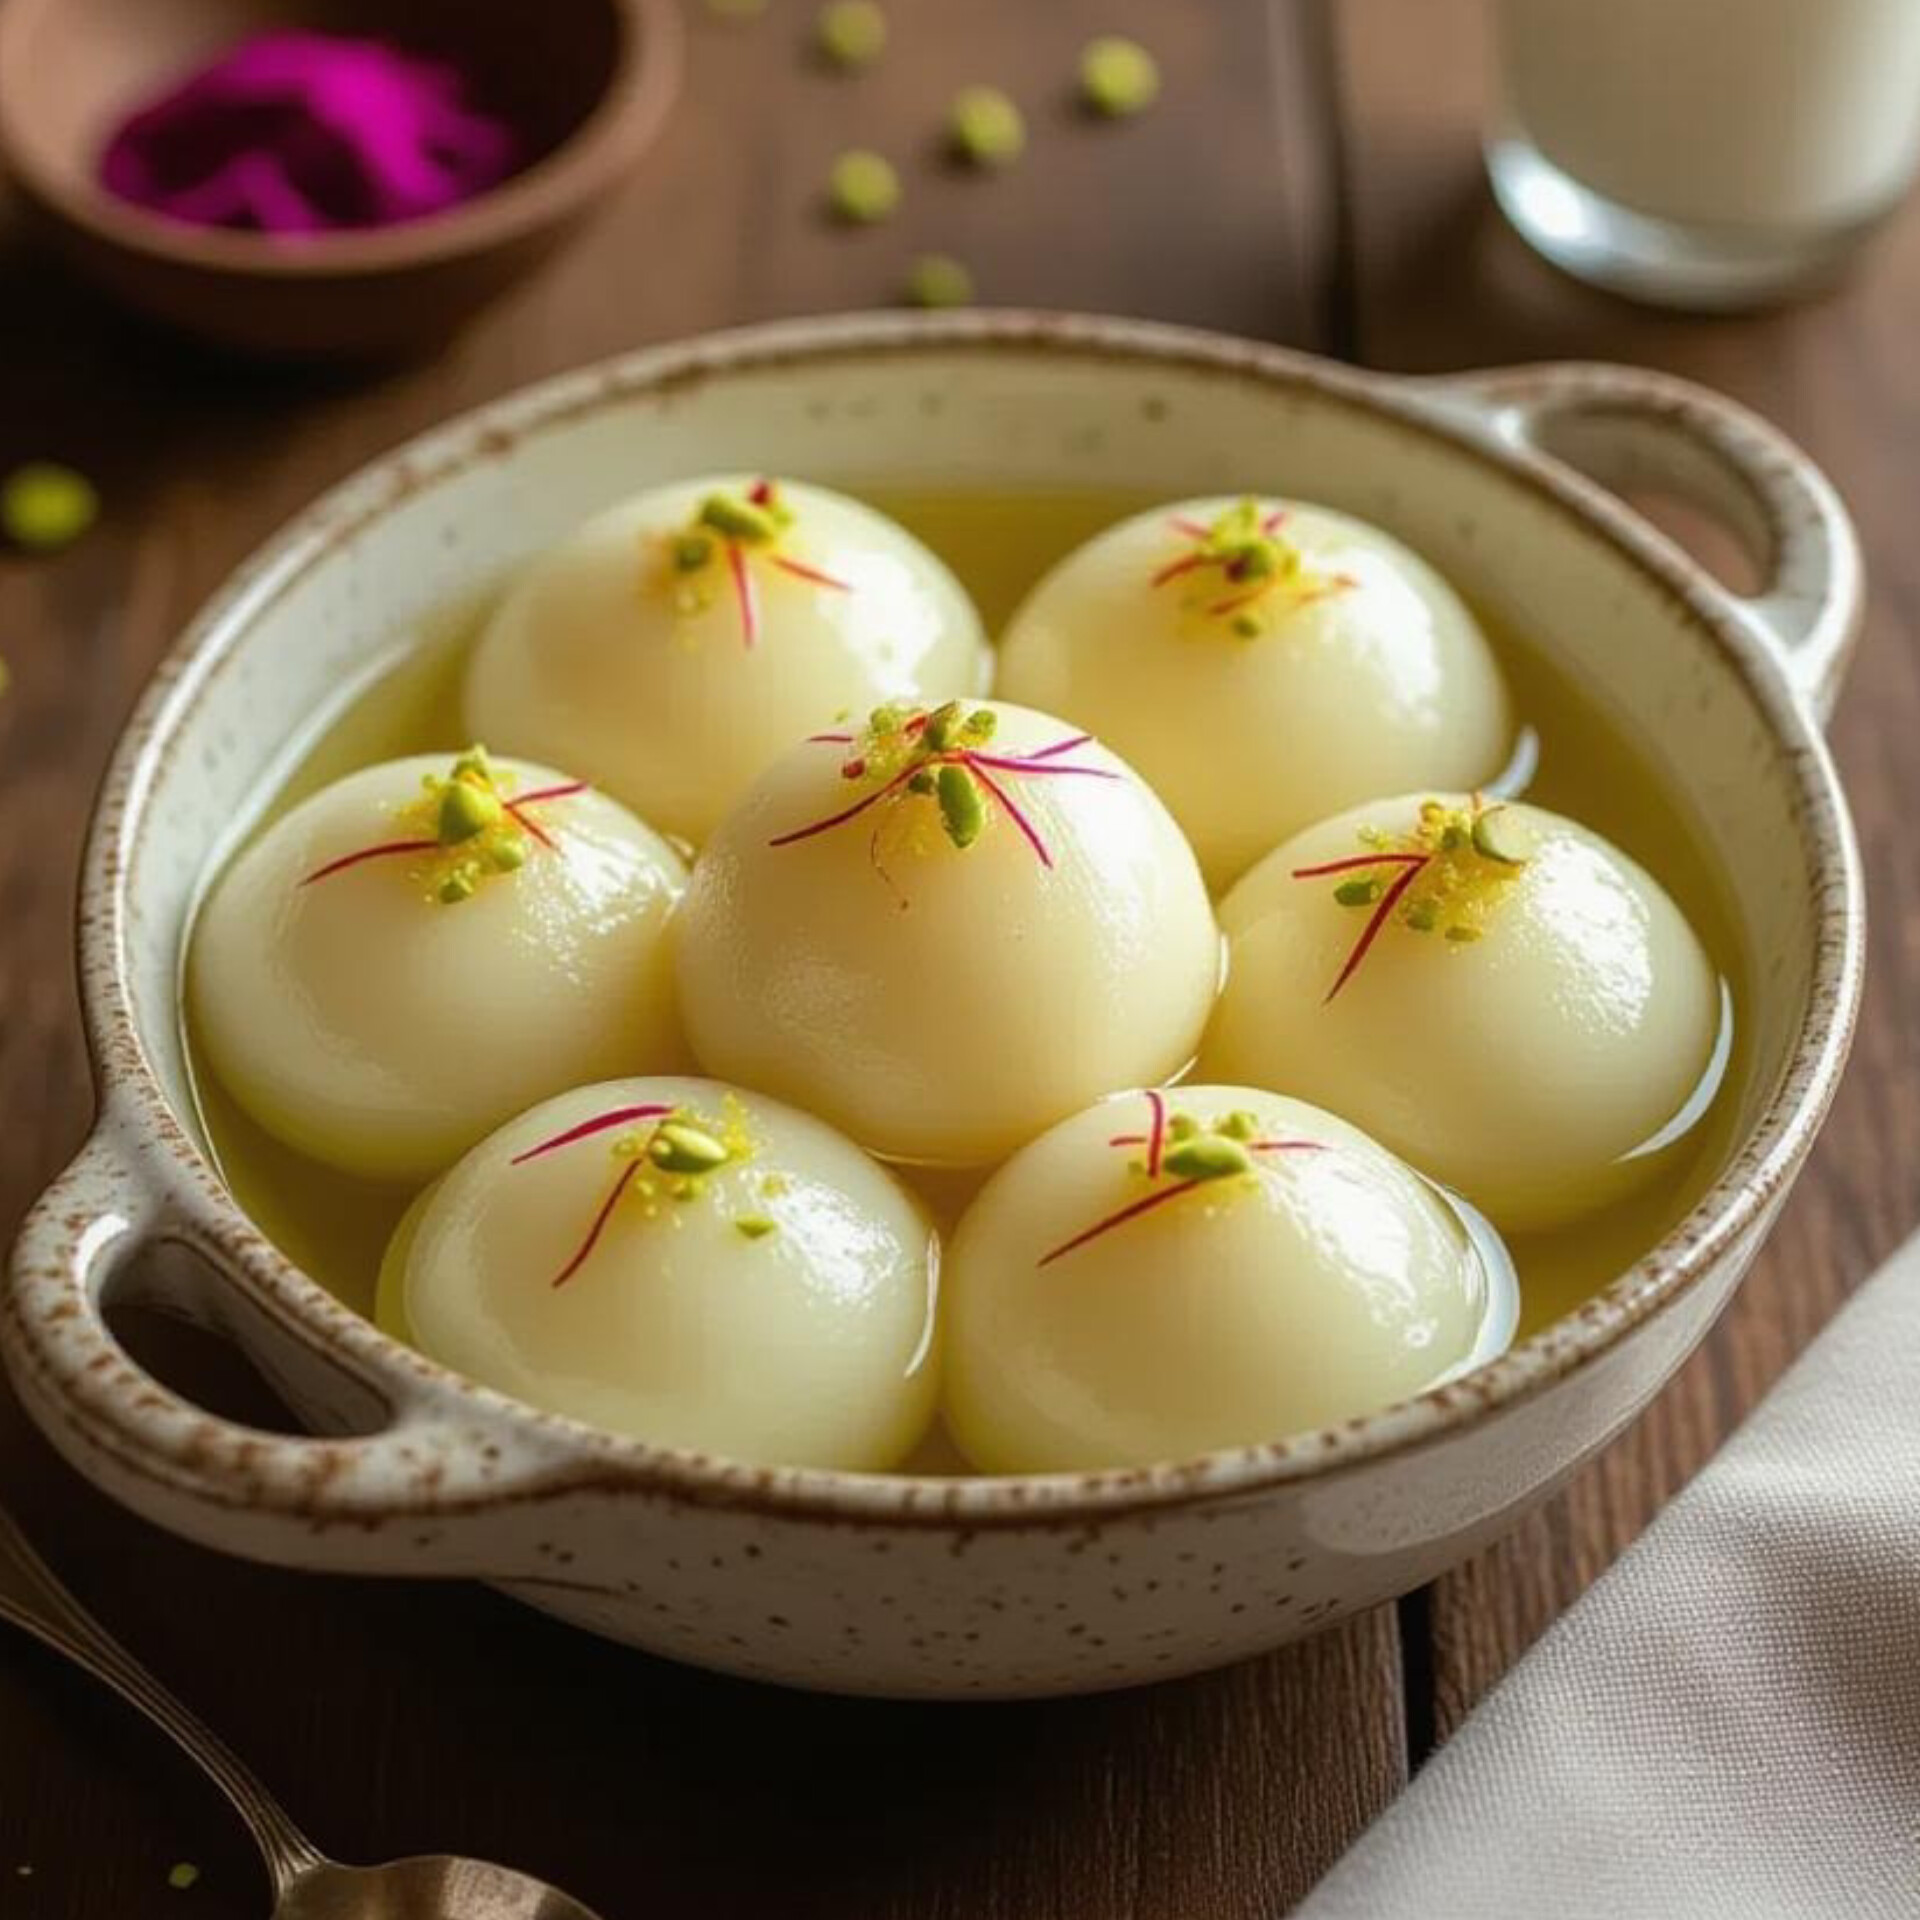
There are some desserts that just have a way of making you smile, and for me, rasgulla sits right at the top of that list. The first time I tasted it was at a Bengali friend’s house years ago, and honestly, I was so mesmerized by that soft, melt in the mouth texture that I couldn’t stop at one. If you’ve never had a freshly made rasgulla before, let me tell you store bought ones don’t even come close. They’re either too sweet, too chewy, or simply lack that delicate balance that makes homemade rasgullas so special.
This Rasgulla Recipe is the one I’ve perfected over time. It’s simple enough to make on a weekend but impressive enough to serve at family dinners or festive occasions. Rasgulla, or “Roshogolla” as it’s lovingly called in Bengal, is more than just a dessert it’s a little ball of joy soaked in syrup. The best part? You don’t need fancy equipment or rare ingredients. Just a bit of patience, gentle hands, and the willingness to get a little messy in the kitchen.
So, if you’ve ever wondered how to get that soft, spongy texture that soaks up syrup without falling apart, this detailed Rasgulla Recipe will be your guide from start to finish.
Ingredients:
- 1 liter full fat milk
- 2 tablespoons lemon juice or vinegar (mixed with 2 tablespoons water)
- 1 ½ cups sugar
- 5 cups water
- 1 teaspoon cardamom powder (optional but lovely)
- Few drops of rose water or kewra essence (optional for aroma)
You can adjust these quantities depending on how many servings you want to make. The below measurements are just an example for a medium family portion.
Step by Step Method:
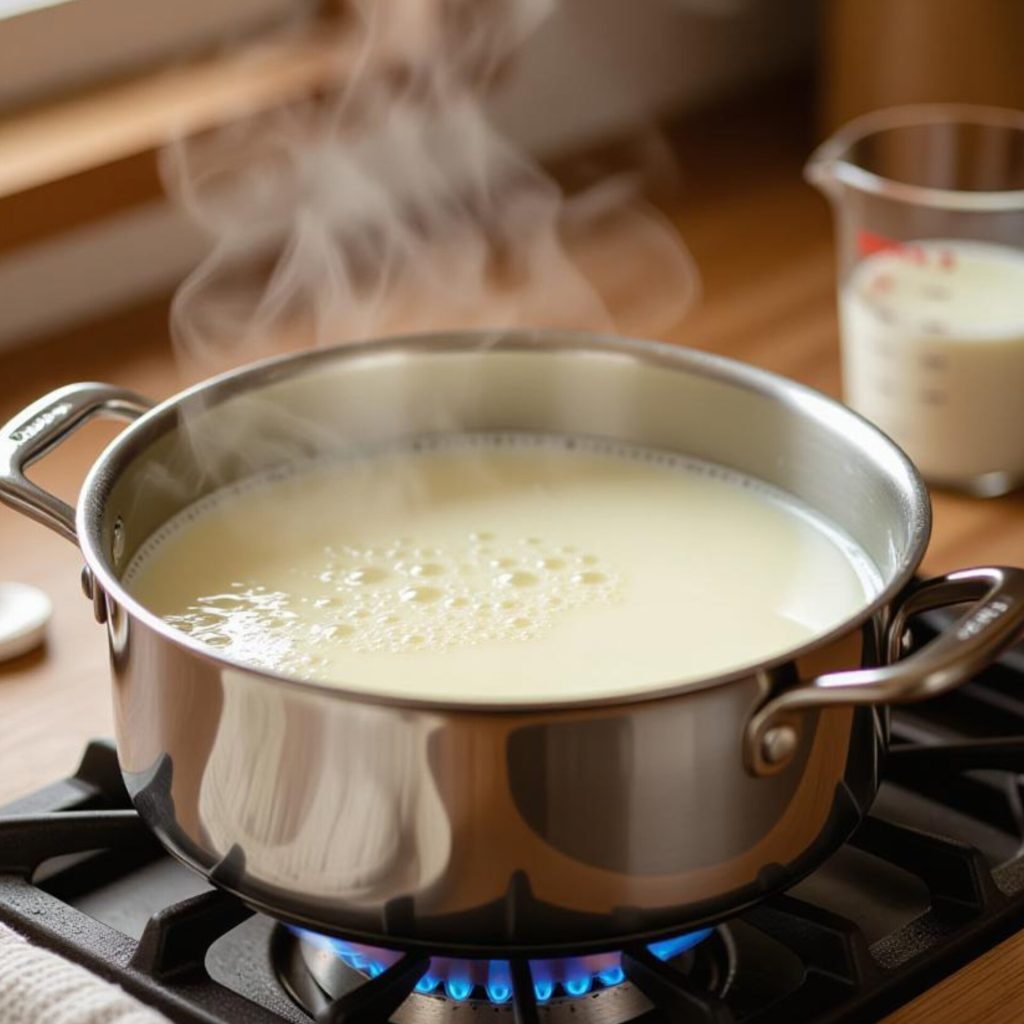
Step 1: Making the Chhena (Fresh Cottage Cheese)
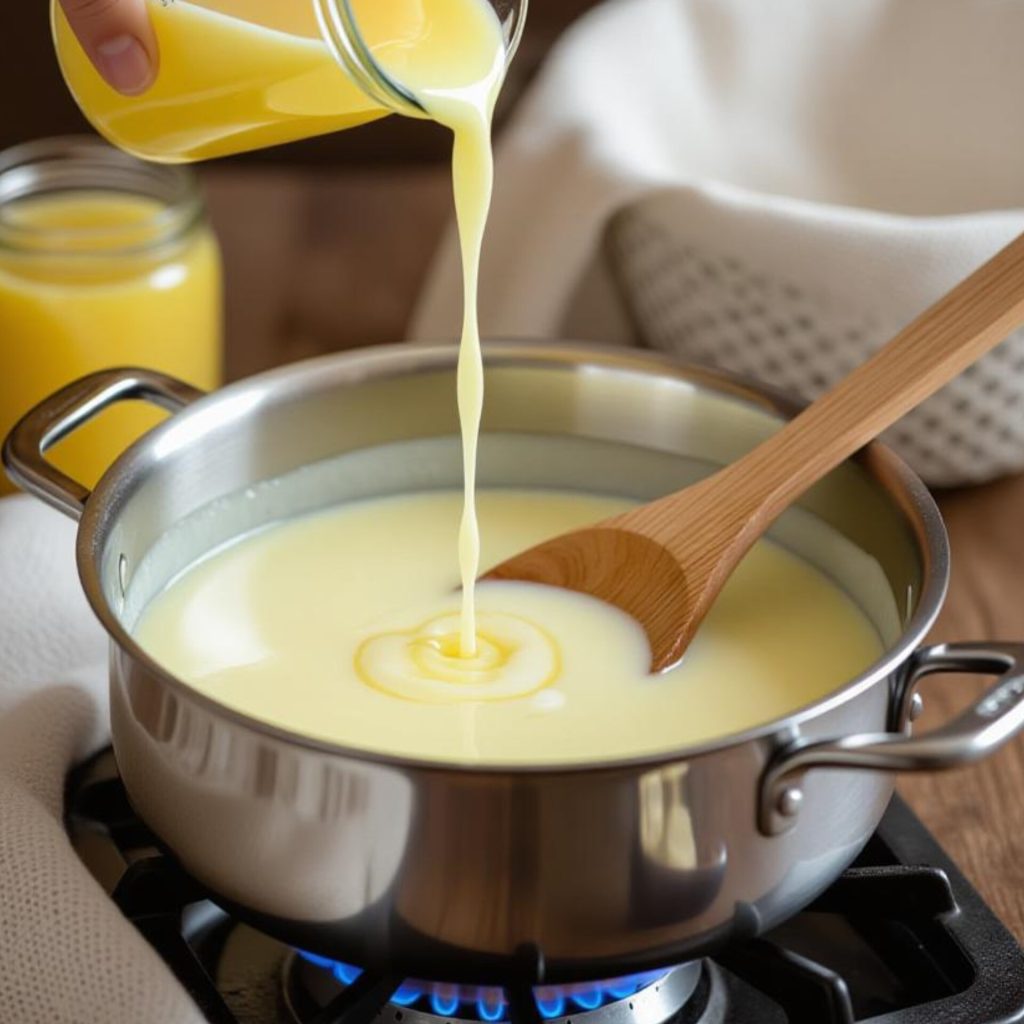
Start by bringing the milk to a gentle boil in a heavy bottomed pot. Don’t rush this part slow heating helps prevent burning and gives a creamier texture to your chhena. Once the milk starts bubbling, lower the heat and add your diluted lemon juice gradually, stirring slowly until the milk curdles. You’ll see the whey separating that’s when you stop. Over curdling can make the rasgullas grainy, so as soon as you see the clear whey, turn off the flame.
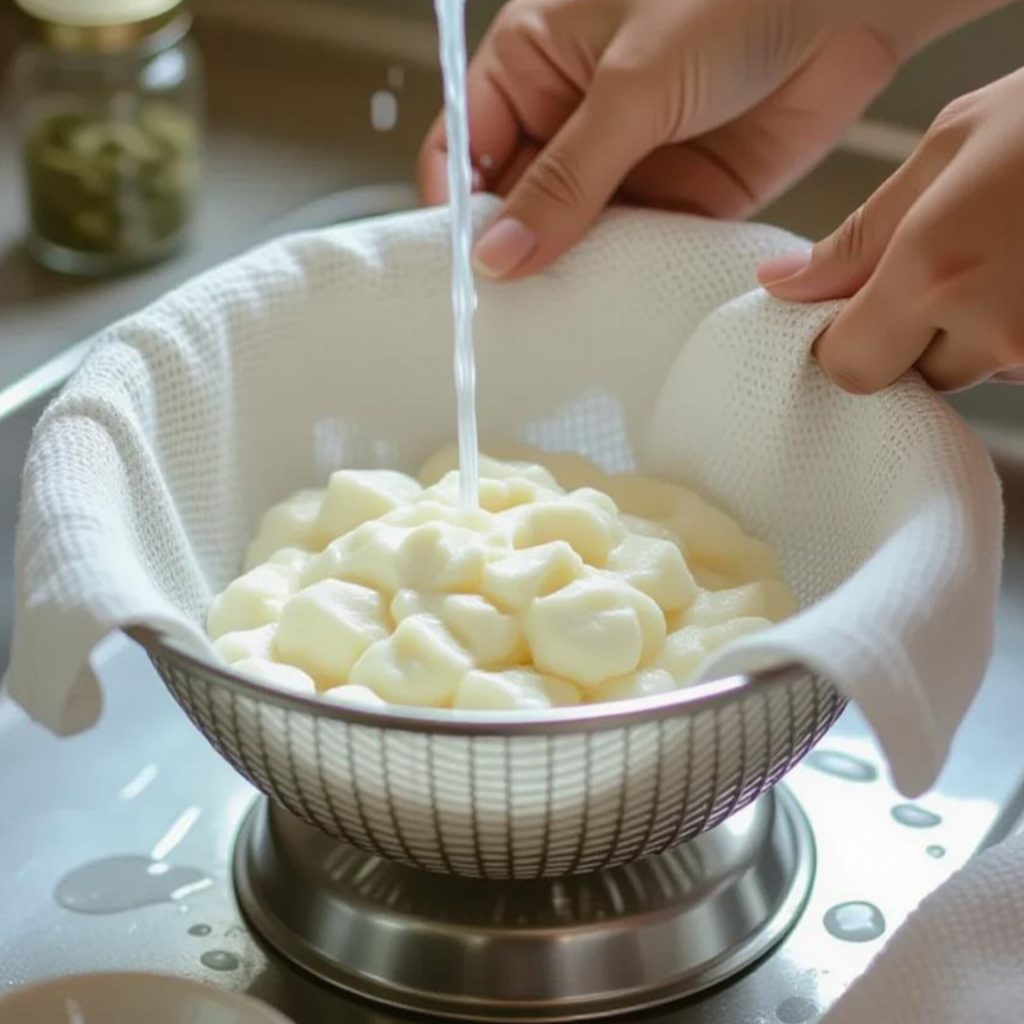
Line a strainer with a muslin cloth and pour the mixture through it to collect the chhena. Rinse it gently with cold water to remove any lemony taste. Then, hang it for about 30 to 40 minutes to drain excess water. The trick here is balance you want it moist but not watery. If it’s too dry, your rasgullas will turn hard if too wet, they’ll break in the syrup.
Step 2: Kneading the Chhena
Once the chhena is well drained, transfer it to a clean plate and start kneading with your palm. This step can’t be rushed. It usually takes about 8 to 10 minutes of patient kneading. You’re looking for a smooth, soft dough-like consistency that leaves no visible grains. The more evenly you knead, the better your rasgullas will puff up later.
When the chhena starts feeling silky and holds its shape without cracks, you know you’re ready. Divide it into small equal sized balls. Remember, they’ll double in size once cooked in syrup, so keep them on the smaller side.
Step 3: Preparing the Sugar Syrup
In a large pot, mix the sugar and water, and bring it to a rolling boil. Add the cardamom powder if you like that gentle fragrance (I always do). The pot should be big enough for the rasgullas to move freely overcrowding makes them dense. Once the syrup boils for 3 to 4 minutes, gently drop the chhena balls in, one by one.
Now here’s the key cover the pot and let them cook on medium heat for 15 to 18 minutes. During this time, they’ll expand beautifully. Don’t peek too often or stir vigorously, as that can deflate them. Every few minutes, just swirl the pot lightly to keep them from sticking.
Step 4: Resting and Soaking
Once cooked, turn off the heat but don’t take the lid off immediately. Let the rasgullas rest for another 10 minutes in the hot syrup. This allows them to settle and absorb more sweetness. After that, you can open the lid and add a few drops of rose water or kewra essence if you prefer that aromatic touch.
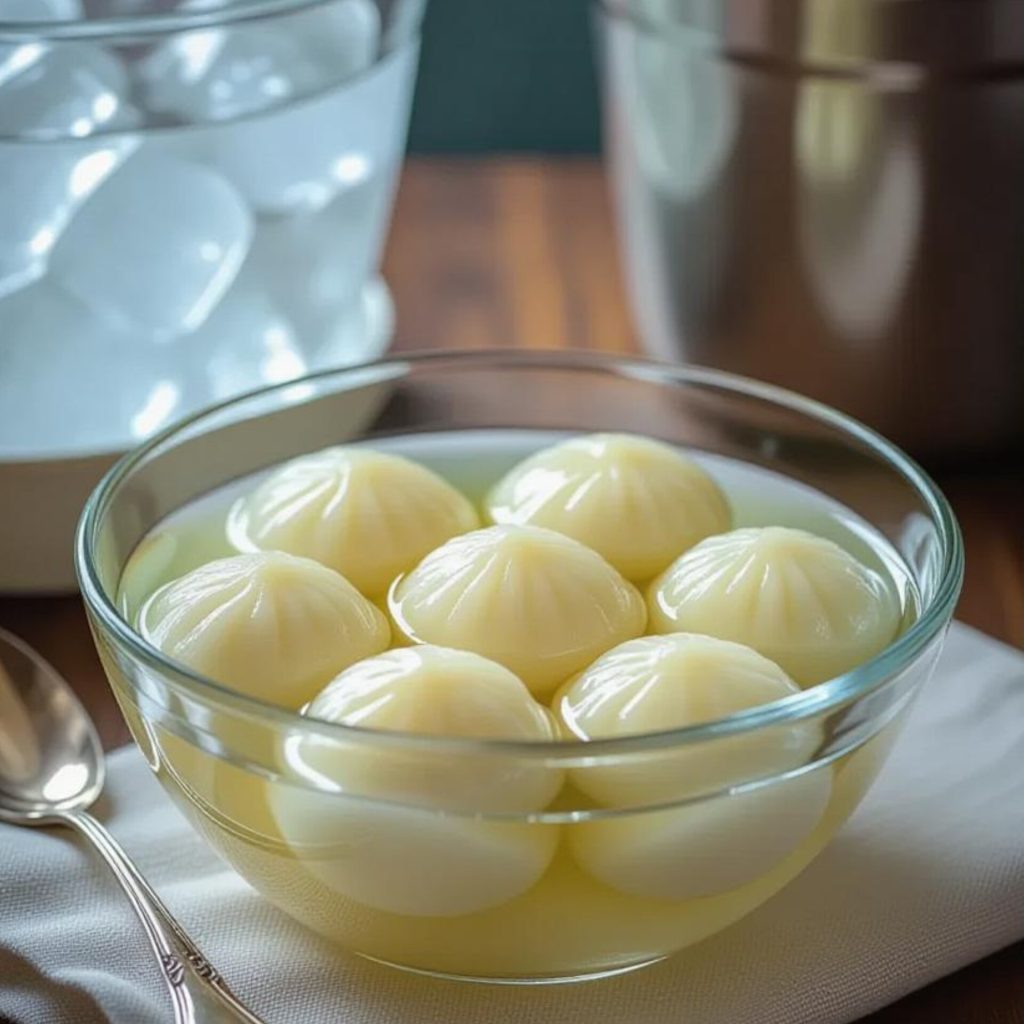
Let them cool completely before transferring to a bowl. I usually chill them for a few hours before serving because cold rasgullas just taste divine, especially after a heavy meal.
Tips & Tricks:
- Always use full fat milk skimmed milk won’t give that creamy softness.
- Never overboil the chhena just stop as soon as it curdles.
- Kneading is the heart of this Rasgulla Recipe it decides the texture.
- Add a teaspoon of semolina (sooji) while kneading if your chhena feels too soft. It helps bind better.
- If you want lighter syrup, you can reduce the sugar slightly it won’t affect the texture.
Common Mistakes to Avoid:
The most common mistake I’ve seen people make is over curdling the milk. Once you see the whey turning greenish and clear, stop immediately. If you keep heating, your chhena becomes crumbly and the rasgullas lose their bounce.
Another common issue is not kneading enough. I know it sounds repetitive, but this step is truly what makes or breaks the recipe. Poorly kneaded chhena leads to rasgullas that split or stay dense inside. I’ve been there my first batch years ago was more like sweet rubber balls!
Also, avoid adding the balls to cold syrup or syrup that’s not boiling enough. The high heat helps them puff up instantly. And don’t overcrowd the pot give them space to swim.
Lastly, don’t rush the soaking process. Let them rest in syrup at least for a couple of hours. Freshly cooked rasgullas can taste slightly chewy, but once they absorb that syrup, they turn pillowy soft.
Nutritional / Health Angle:
Now, let’s be honest rasgullas aren’t exactly a “diet” dessert, but they’re still lighter than most fried sweets. Each piece roughly contains about 120 to 140 calories, depending on size. Since they’re made from chhena (a form of paneer), they’re rich in protein and calcium, which is a nice bonus.
If you’re watching your sugar intake, you can experiment with natural sweeteners or reduce sugar slightly though it may change the syrup consistency a bit. Some people even use low-fat milk, but in my experience, that slightly compromises the richness. Moderation is key here enjoy them occasionally and guilt-free.
Conclusion:
Making rasgullas at home might feel intimidating at first, but once you get the hang of it, it becomes second nature. There’s something deeply satisfying about seeing those little white balls puff up and turn into soft, syrupy clouds of sweetness. Every time I make them, I’m reminded of how simple ingredients can create something so delightful.
If you’ve never tried making them before, give this Rasgulla Recipe a go and don’t worry if your first batch isn’t perfect. It rarely is. The more you make them, the better you’ll understand the texture and timing. And when you finally get that perfect, spongy bite that gently releases syrup with every spoonful, you’ll know it was worth every minute spent in the kitchen.
Because at the end of the day, the best desserts aren’t the ones that look perfect they’re the ones made with patience, love, and a little bit of mess along the way.