Introduction:
There’s something oddly nostalgic about a banana milkshake. Maybe it’s the faint sweetness of ripe bananas or the smooth chill of milk blending into a frothy, creamy drink. Whatever it is, this simple Banana Milkshake Recipe always takes me right back to my childhood summers those lazy afternoons when my mother would whip one up for me after school. It wasn’t fancy, but it was comfort in a glass.
Banana milkshakes are one of those timeless drinks that never really go out of style. They’re everywhere from small roadside stalls to trendy cafes that serve them with whipped cream and fancy glass jars. But honestly, I still think the homemade version is unbeatable. You control the sweetness, the thickness, and that perfect balance between banana and milk that gives it its magic.
This recipe is ridiculously easy, but I’ve learned that the little details the ripeness of your bananas, the temperature of your milk, even the blender speed make a world of difference. So, if you’ve ever had a milkshake that tasted a bit flat or too icy, don’t worry. I’ll walk you through how to make the kind that’s thick, smooth, and just sweet enough to make your day better.
Ingredients:
- 2 large ripe bananas (the riper, the sweeter)
- 2 cups chilled full fat milk (or any milk of your choice)
- 2 tablespoons sugar (adjust to taste)
- 1 scoop vanilla ice cream (optional, but worth it)
- ½ teaspoon vanilla essence (for a cafe style touch)
- A few ice cubes (optional, if you want it extra cold)
You can adjust these quantities depending on how many servings you want to make. The below measurements are just an example for a medium family portion.
Step by Step Method:
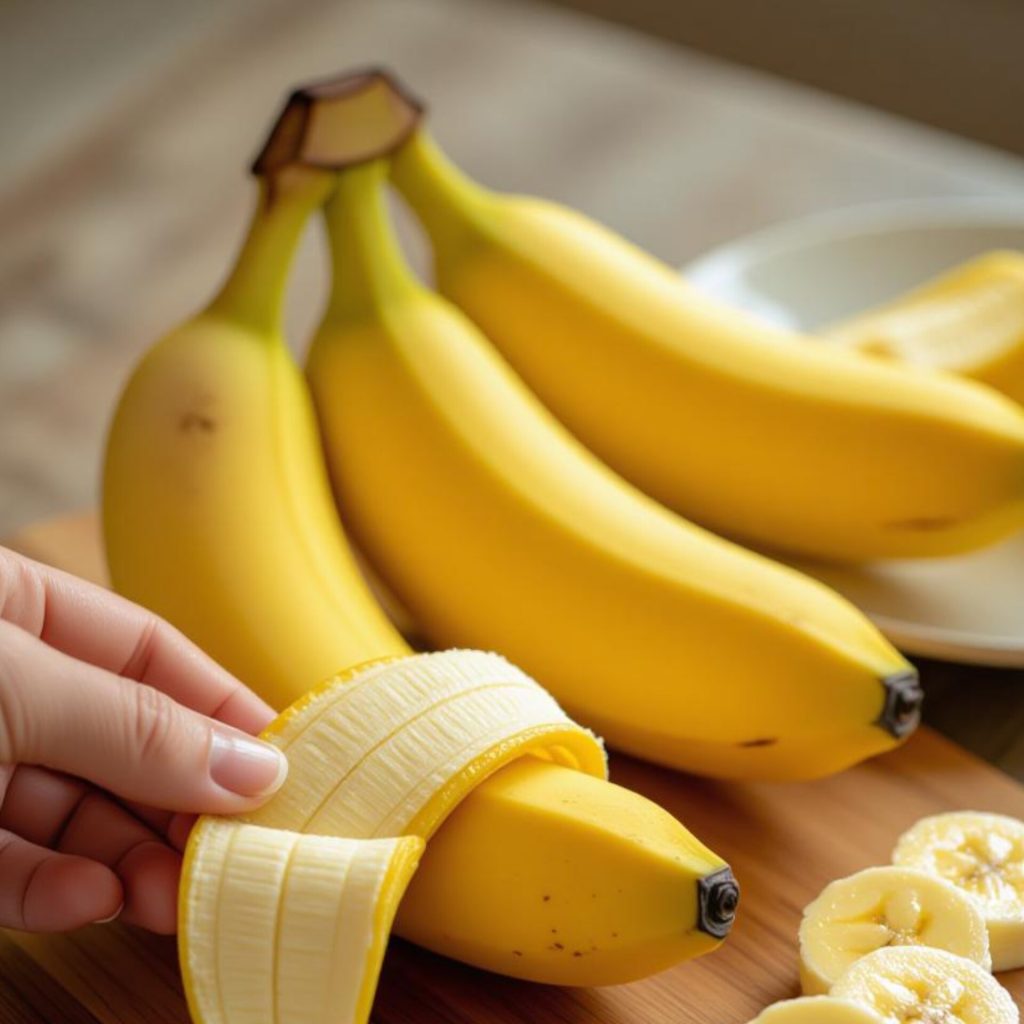
Step 1: Choose and Prepare Your Bananas
This might sound obvious, but it’s the most crucial part of the recipe. Always go for ripe bananas those with a few brown freckles on the peel. They’re naturally sweeter and give your milkshake that creamy texture without needing too much added sugar. I usually peel them and slice them before blending it helps the blender work faster and smoother. If your bananas are slightly overripe, even better. Those ones blend into a velvety texture that’s pure bliss.
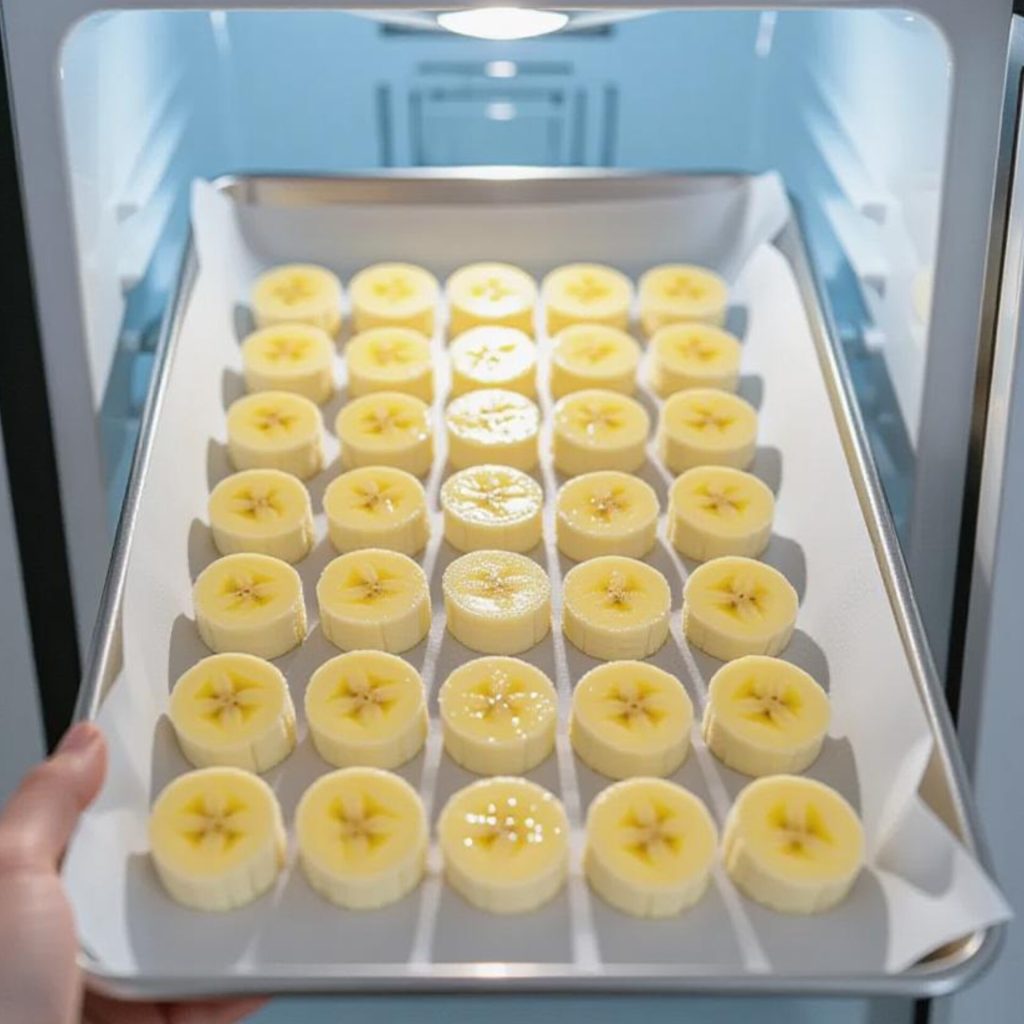
Step 2: Chill Everything Before Blending
One thing I’ve learned over the years a good milkshake should be cold, not just from ice but from chilled ingredients. Pop your milk into the fridge at least an hour before making the shake. If your bananas are at room temperature, toss the slices in the freezer for 10 to 15 minutes. This trick keeps the shake thick without watering it down with ice.
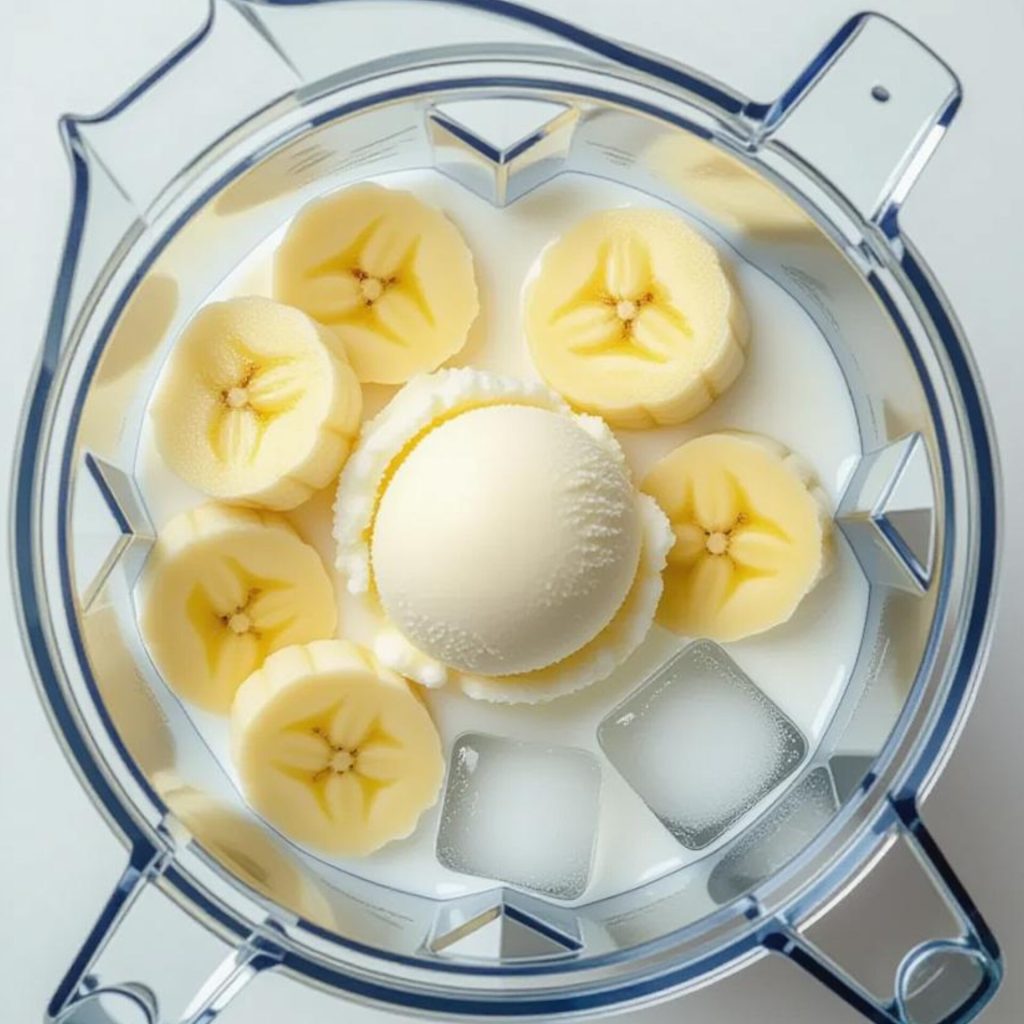
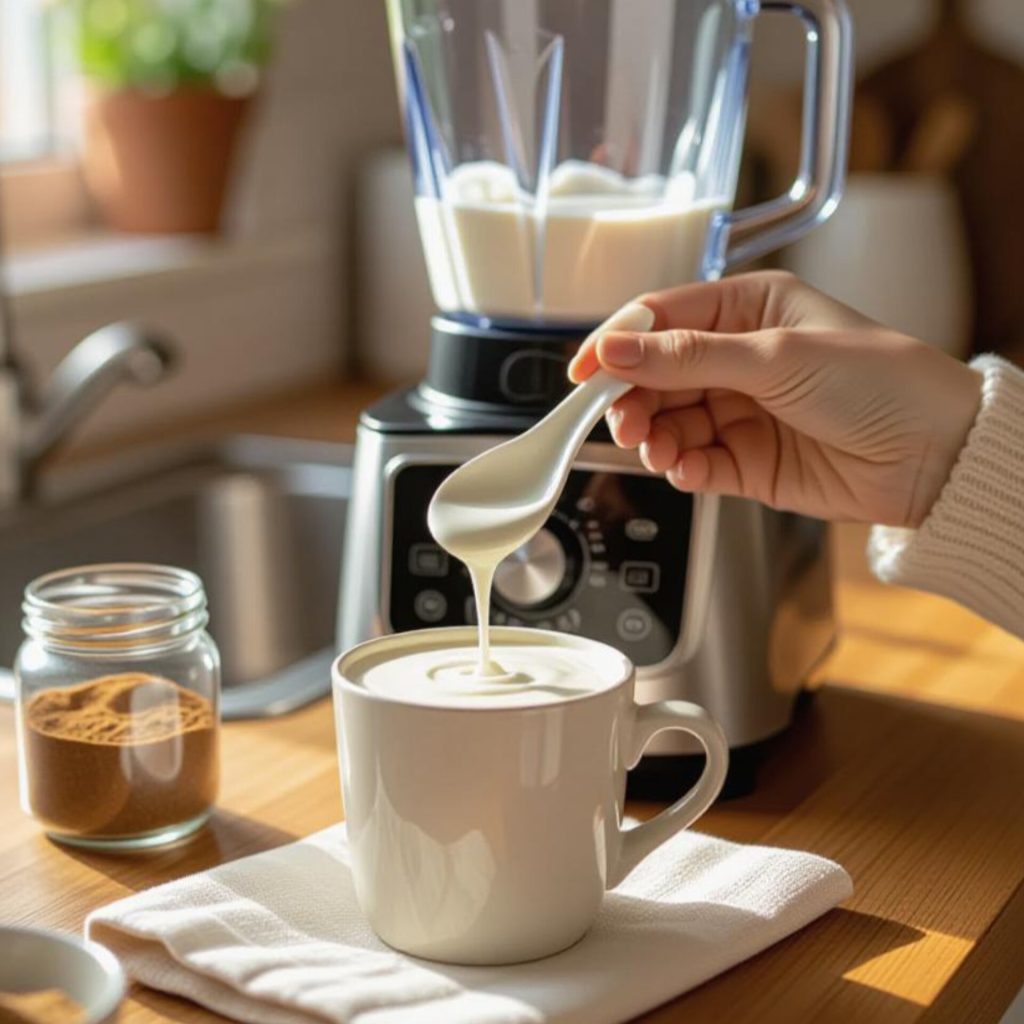
Step 3: Time to Blend
Now comes the fun part. Add the banana slices, chilled milk, sugar, vanilla essence, and (if you’re going all out) a scoop of vanilla ice cream into your blender. Start on low speed to break down the bananas, then move to high speed for about 30 to 40 seconds. You’ll notice the mixture turning into a creamy, pale golden froth. If it’s too thick, add a splash of milk; if too thin, toss in another half banana or a bit of ice cream.
Step 4: Taste and Adjust
This is where you make it your own. Give it a quick taste. Need more sweetness? Add a spoon of sugar or honey. Too heavy? A little more milk will lighten it up. I sometimes add a pinch of cinnamon when I’m in the mood for something cozy it gives a subtle warmth that pairs beautifully with bananas.
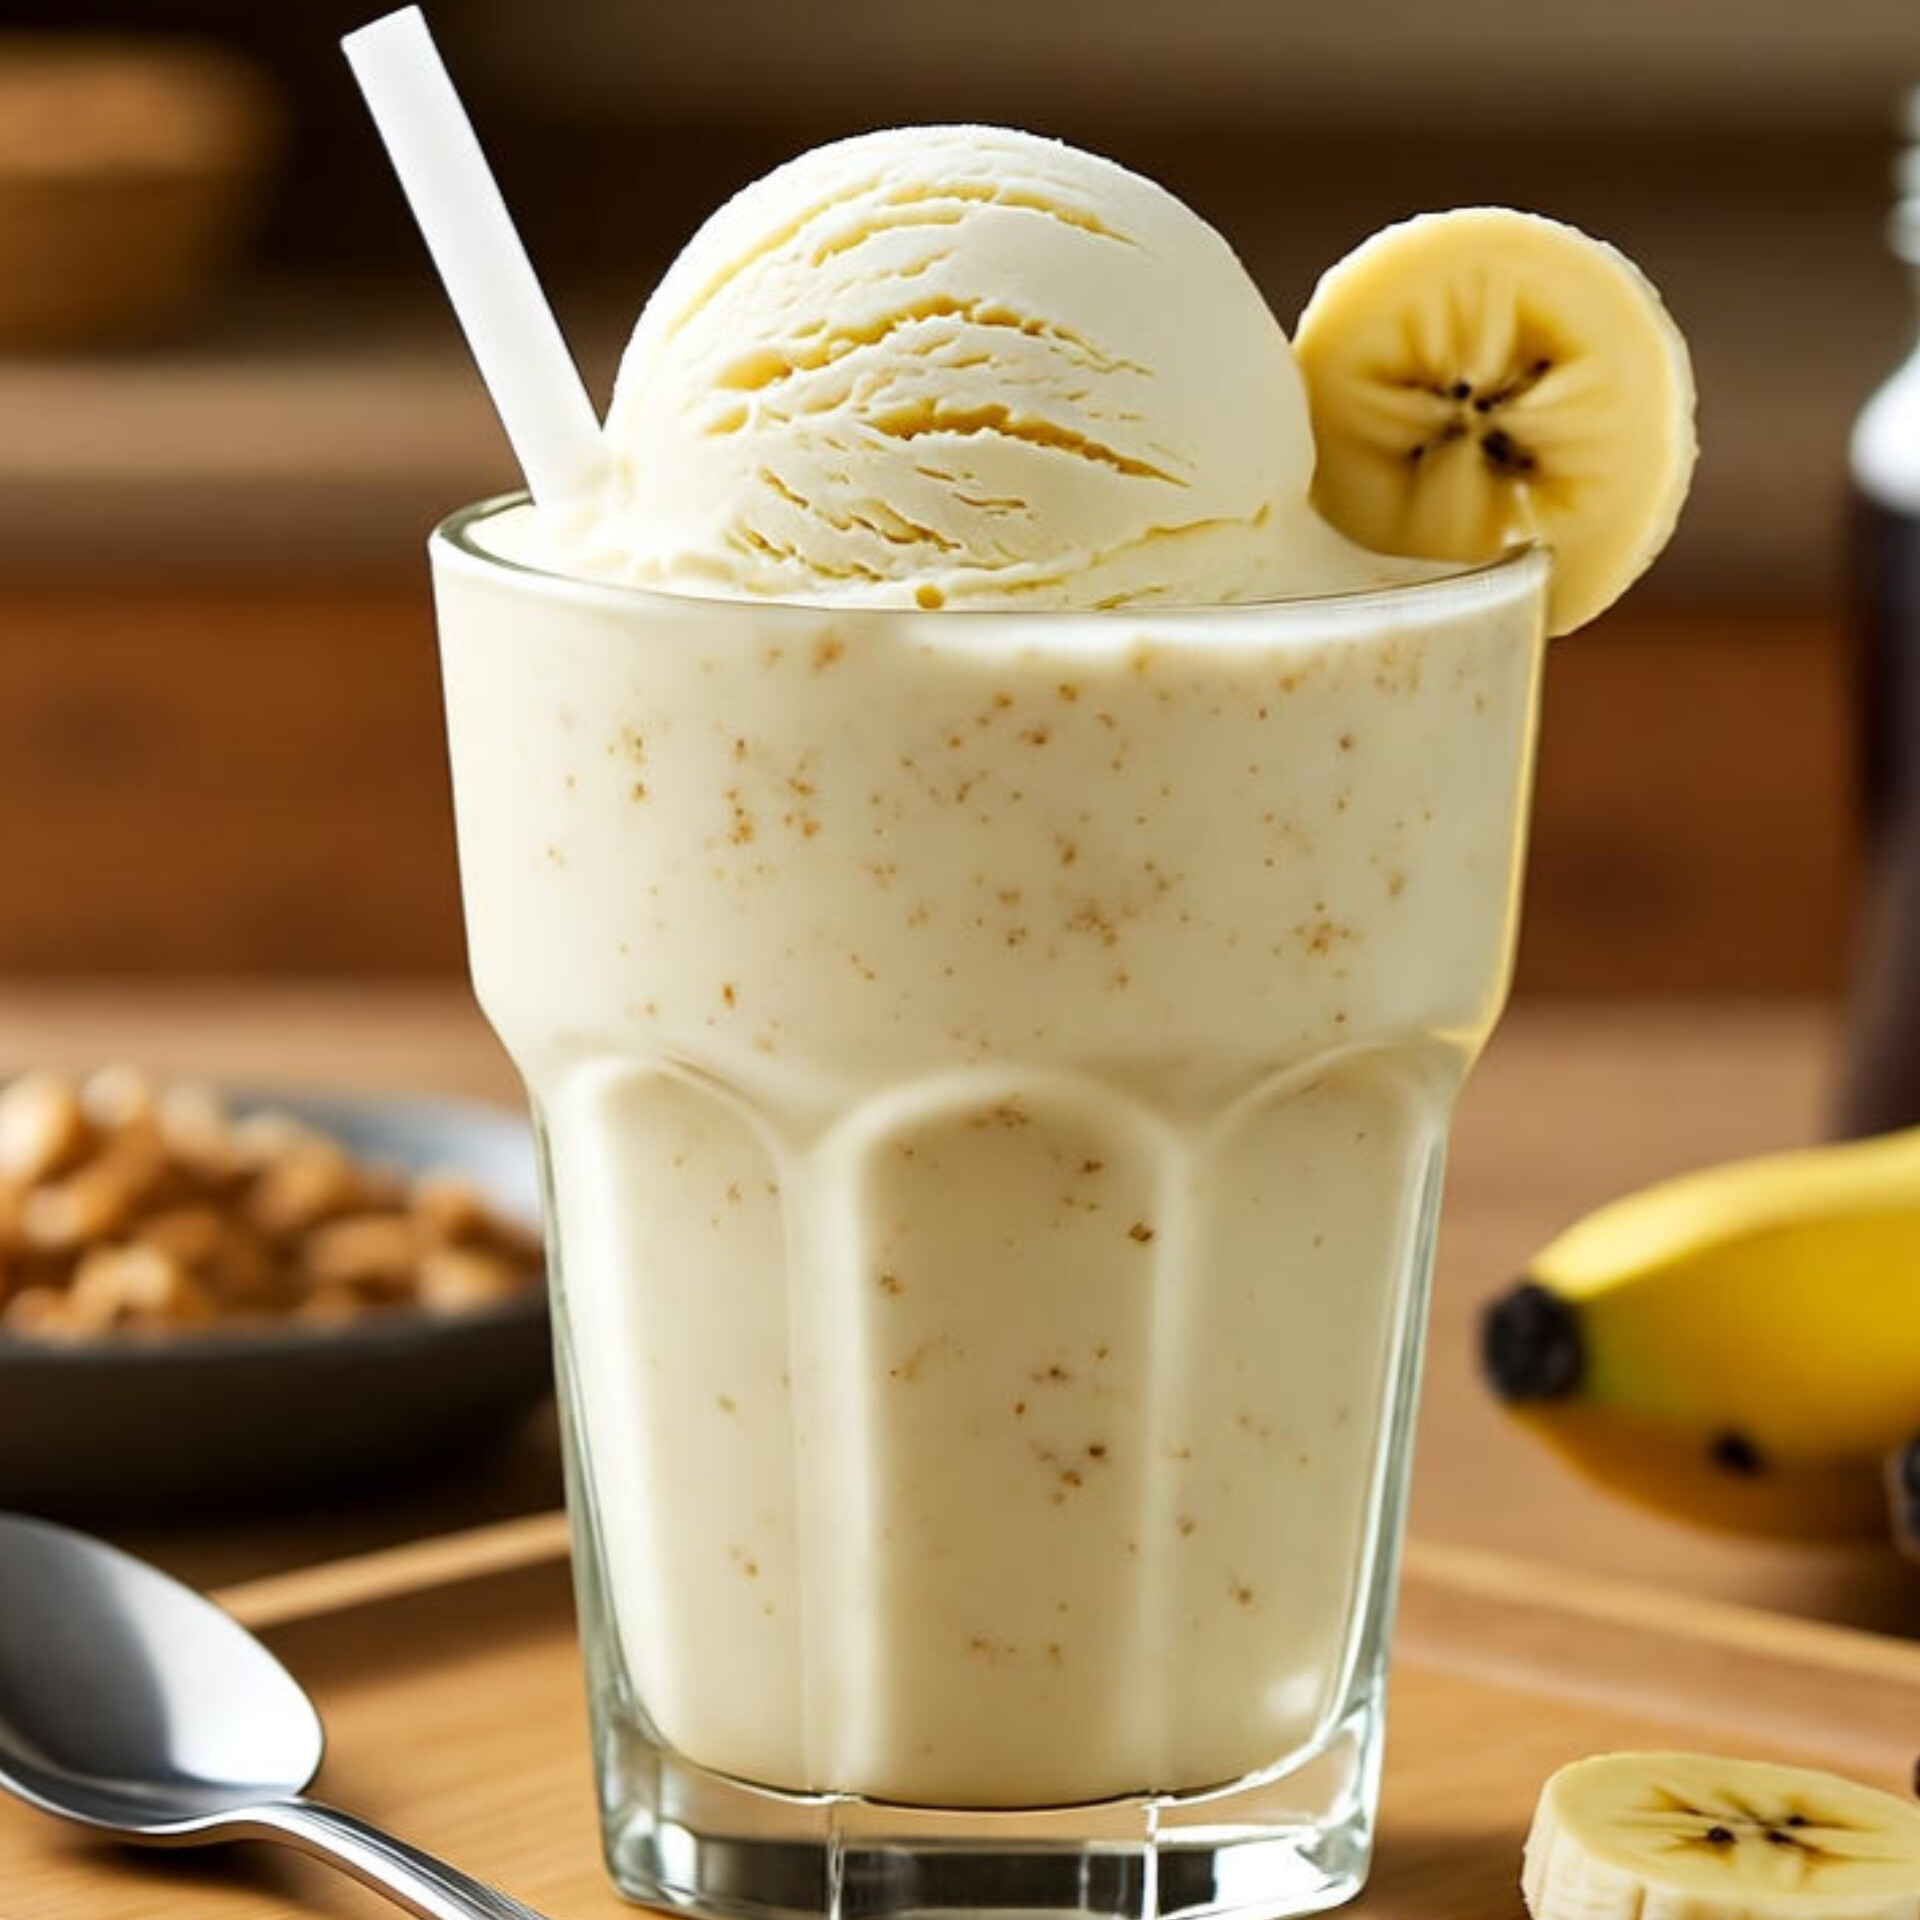
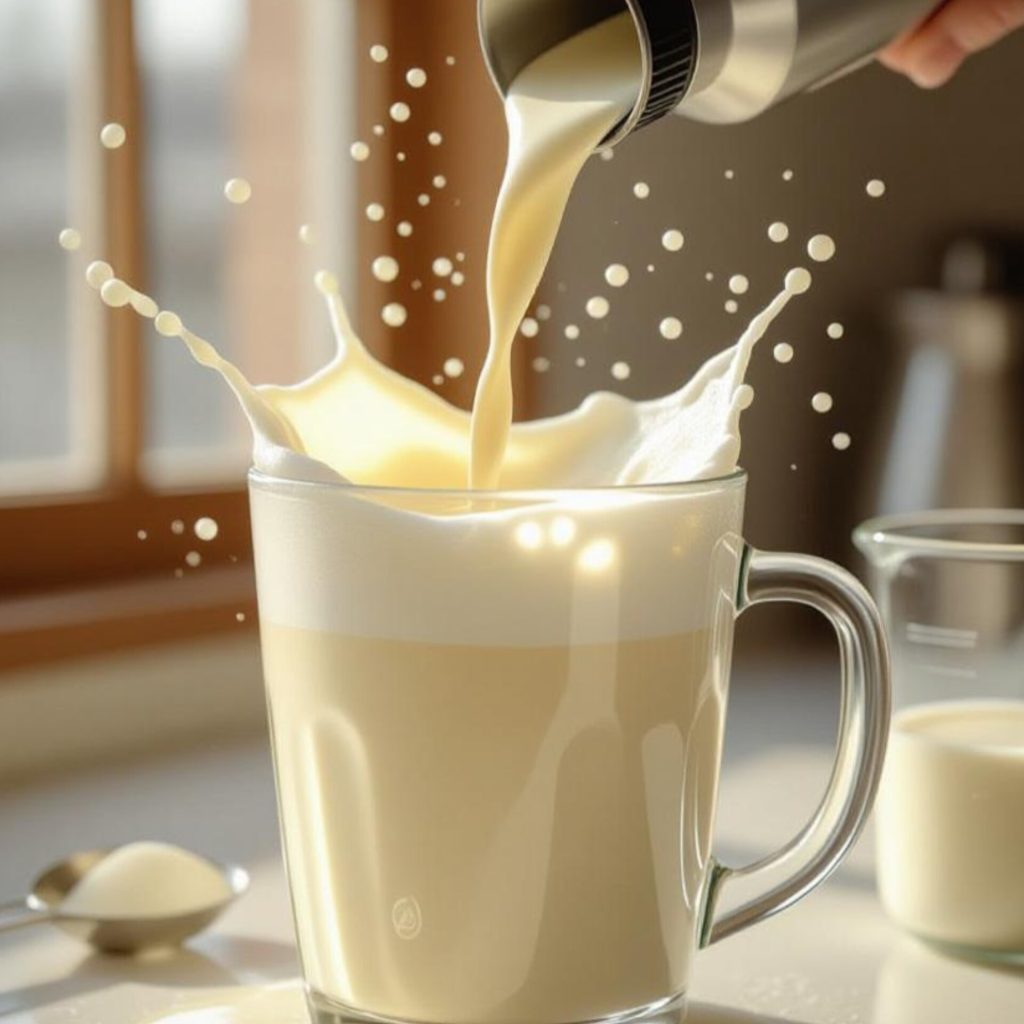
Step 5: Serve It Right
Pour the milkshake into tall glasses and serve it immediately while it’s frosty and thick. If you want to impress guests (or yourself), drizzle a bit of honey or chocolate syrup inside the glass before pouring the shake. It looks fancy but takes no effort. You can also top it with a scoop of ice cream or a sprinkle of crushed nuts. Personally, I love mine plain it’s classic, creamy, and perfect as is.
Step 6: Optional Variations
Sometimes I blend in a tablespoon of peanut butter for a protein kick, especially if I’m having it post workout. Other days, I swap vanilla ice cream for chocolate and skip the sugar entirely. There’s really no rulebook here. Once you get the base right, you can twist it in a dozen ways oats for breakfast, coffee for an energy boost, or even a bit of cocoa powder for a dessert vibe.
Tips & Tricks:
- Use frozen bananas instead of ice cubes for a naturally thick texture.
- Whole milk gives the richest flavor, but almond or oat milk works beautifully too.
- For a dairy-free version, skip the ice cream or use a vegan alternative.
- Always blend just before serving banana milkshakes can darken if they sit for too long.
- Add a dash of honey instead of sugar for a healthier, more natural sweetness.
Common Mistakes to Avoid:
1. Using unripe bananas: They might look pretty, but they’re starchy and not nearly sweet enough. Your shake will taste bland and slightly chalky. Always pick ripe or slightly overripe ones.
2. Adding too much ice: It might seem like a shortcut to chill your shake, but it just waters down the flavor. If you want a colder drink, freeze the banana slices instead.
3. Over-blending: Believe it or not, there is such a thing. Too much blending can make the shake frothy and thin instead of thick and creamy. Stop as soon as you see a smooth texture.
4. Not balancing the sweetness: Bananas vary in sweetness, so always taste before you pour. You don’t want something cloyingly sweet or disappointingly dull.
5. Ignoring the milk temperature: Warm milk will completely ruin the texture. It should always be cold straight from the fridge or even slightly chilled in the freezer.
6. Skipping the vanilla essence: This small detail makes a big difference. It lifts the flavor and gives that cafe style aroma we all secretly love.
Nutritional / Health Angle:
A banana milkshake isn’t just delicious it’s actually quite nourishing. Bananas are rich in potassium, vitamin C, and fiber, while milk provides calcium and protein. One serving (around a glass) averages about 200 to 250 calories if you skip the ice cream, and roughly 300 350 if you add it in. For a healthier version, you can replace sugar with honey or dates and use low-fat milk or almond milk.
It’s a great way to get an energy boost in the morning or after a workout. And if you’re making it for kids, it’s a sneaky way to get them to drink their milk happily no complaints, guaranteed.
Conclusion:
And that’s it the simplest, most comforting Banana Milkshake Recipe you’ll ever make. It’s one of those things that feels fancy even though it takes barely five minutes. I love how it fits into any part of the day breakfast, mid day snack, or even a lazy dessert after dinner.
What I enjoy most is how customizable it is. Every time I make it, I end up adding something a little different extra vanilla one day, a sprinkle of cinnamon the next. And somehow, it always turns out delicious. So, the next time you’ve got a couple of ripe bananas sitting around, don’t let them go to waste. Blend them up, pour yourself a glass, and enjoy that sweet, creamy nostalgia.