Introduction:
If you’ve ever walked into a Punjabi home and been greeted by the warm, smoky, buttery scent of something slow-cooking on the stove, there’s a good chance it was a pot of dal makhani. Today I’m going to take you on a full, unpretentious, slightly chatty tour of how I make my favorite Dal Makhani Recipe the one I fall back on when I want something rich, soothing, and reliably comforting. This post is long because I want to explain everything the way I actually think about it: from soaking the lentils to coaxing out the deepest flavor, and yes, the tiny mistakes I’ve made so you don’t have to repeat them.
Before we jump into the steps, a little context and a small story. When I first tried to make this dish at home, I was determined to replicate a restaurant version I loved. I failed spectacularly on day one my lentils stayed stubbornly firm, the gravy was watery, and I had added so much cream in an attempt to “salvage” it that it felt like dessert. But the next time, after I learned to be patient and treat the lentils with respect, everything clicked. That’s the tone I’ll keep here: honest, practical, and full of sensory cues so you know what to expect.
Why this Dal Makhani Recipe?
Because it’s forgiving, soulful, and can be dressed up or pared down depending on what you have in the pantry. Also because it teaches patience the flavor deepens as it simmers. If you want a weeknight shortcut I’ll give you tips, but the heart of this recipe is slow cooking.
What you’ll need (not just a list what matters and why):
- Whole black urad dal (whole black lentils) This is the base. The whole lentils give a lovely, buttery texture when simmered long enough. (If you can’t find whole urad, split urad works but the texture will be different.)
- Rajma (kidney beans) A small amount of kidney beans adds body and balance. Many traditional versions include both. They help give structure and a slightly nutty note.
- Onions Finely chopped. Not too coarse they should melt into the gravy, not announce themselves at the finish.
- Tomatoes Ripe, roughly pureed or very finely chopped. They add acidity and color.
- Ginger & garlic Fresh, minced. They’re the backbone of the flavor.
- Ghee or butter Use butter if you want that classic silky richness; ghee adds an extra layer of toasted flavor. I usually do a combination.
- Cream For finishing. Don’t overdo it the cream is a finish, not the base.
- Spices Cumin, garam masala, red chili (powder or flakes), and a bay leaf or two. Salt as needed.
- Kasuri methi (dried fenugreek leaves) Small but mighty. It gives that signature aroma.
- Green chilies (optional) For a fresh kick if you want it.
The short version (if you’re in a hurry):
If you truly need to cut the time pressure cook the soaked lentils and beans together until soft, prepare a quick onion tomato tadka (tempering), combine, then simmer 30 to 45 minutes. Add butter and cream to finish. It’s not quite the depth of the long version, but it’s a perfectly acceptable weeknight dinner. I’ll still press you to try the slow simmered version at least once the difference is like day and night.
The long, patient, and delicious method detailed steps:
Below I’ll walk through each step as I do them in my kitchen. I’ll tell you how things should look, smell, and feel, and what to do when something goes wrong. I’ll also sprinkle in a few small personal asides because cooking with other people’s tone makes things warmer.
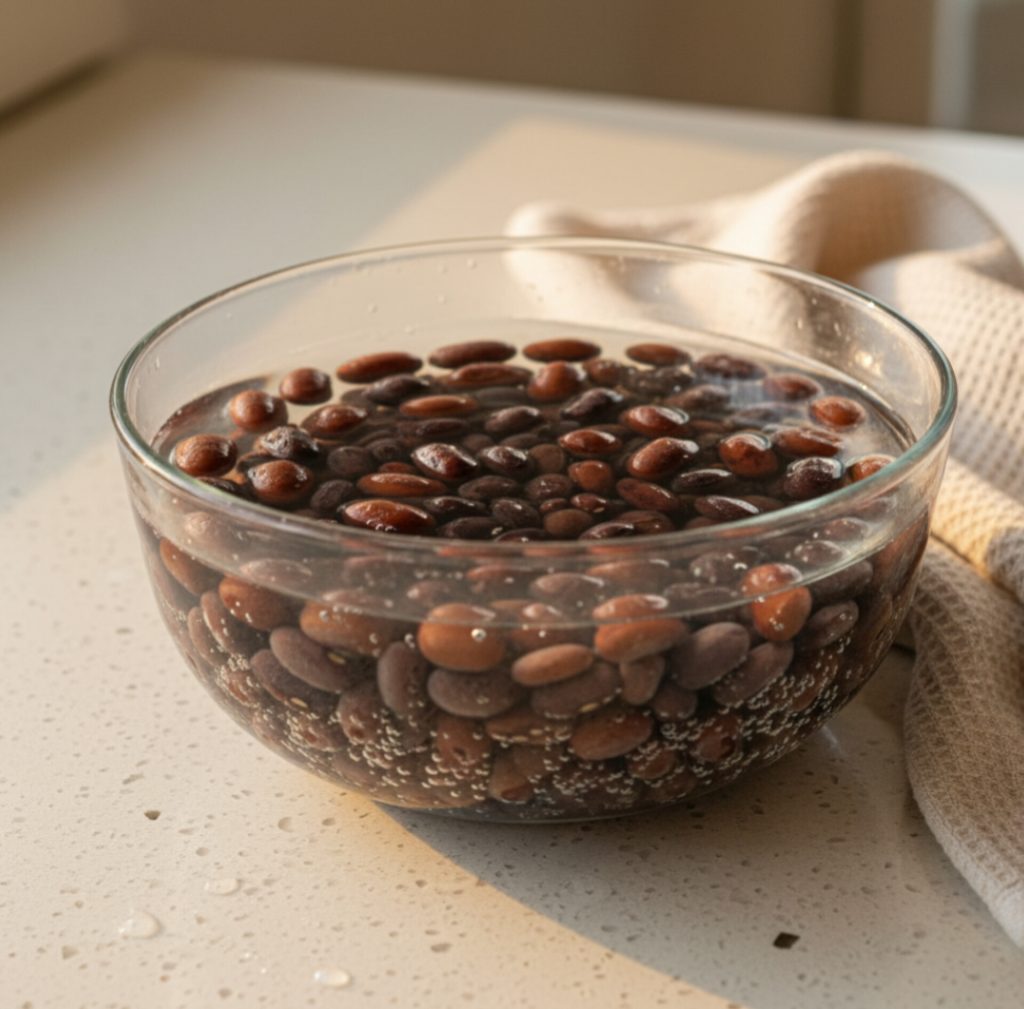
Step 1: Soak the lentils and beans (the small prep that makes a big difference)
Soak the whole black lentils and kidney beans overnight or at least 6 to 8 hours. I usually put them in cold water with a splash of water extra (they’ll double in size) and leave them on the counter covered with a kitchen towel.
Sensory cues after soaking, the lentils should look plump and slightly lighter in color. They should squish gently between your fingers. If they still feel firm and chalky, let them soak longer.
Practical tip if you forget to soak overnight, you can do a hot-soak: cover with boiling water and leave for two hours. It helps, but nothing beats an overnight soak.
Common mistake using too much water during soaking so you forget the bowl and it sits for days. Beans left too long can ferment you’ll smell a sour tang. Toss them and start fresh.
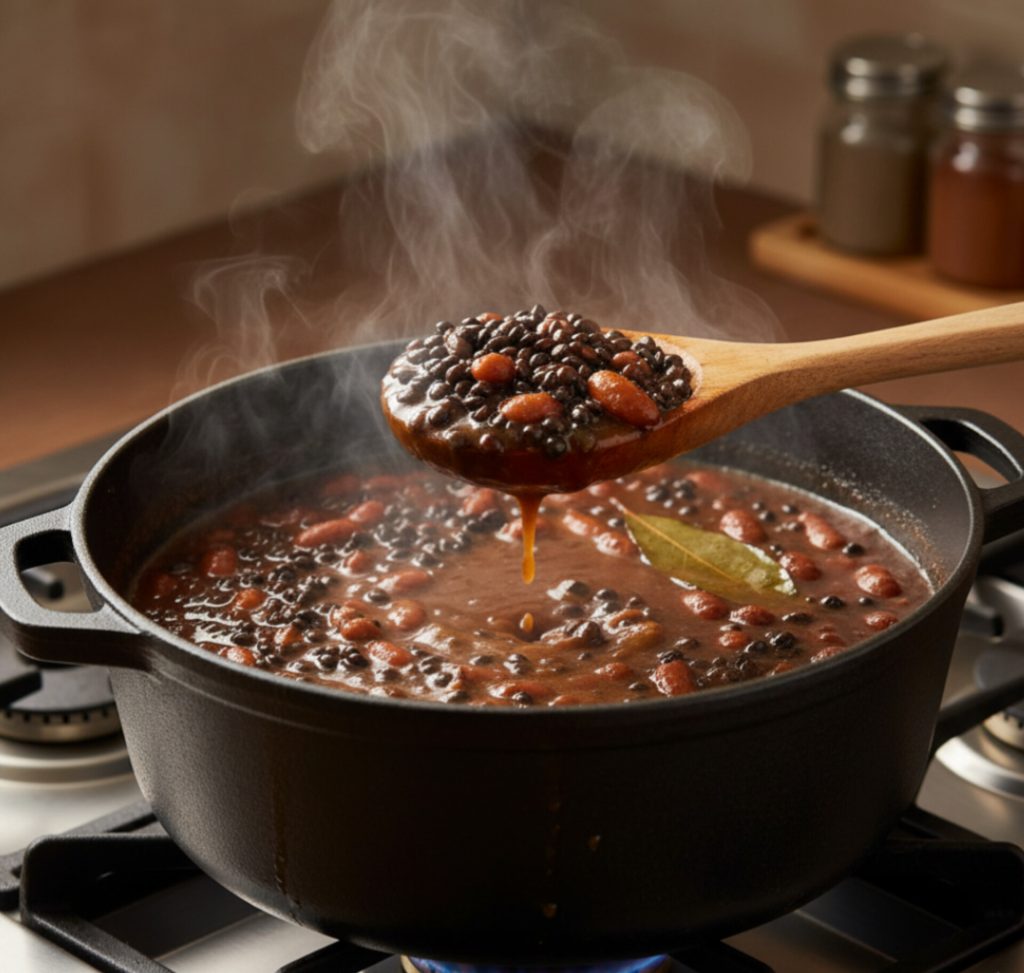
Step 2: The first cook softening the lentils and beans
Drain the soaked lentils and beans. In a large pot or pressure cooker, add fresh water to cover them by about 2 inches. Add a bay leaf and a pinch of salt (but not too much we’ll adjust salt later).
If using a pressure cooker: cook for about 20 to 25 minutes on medium heat (5 to 6 whistles on older Indian cookers) until the lentils are tender but not falling apart. In a heavy bottomed pot: expect an hour or more of simmering, topping up water as needed.
Sensory cues: gently press a lentil between your thumb and forefinger it should mash easily. The cooking water will be a glossy, slightly starchy liquid that’s golden. Do not overcook to mush unless you want an ultra creamy, homogeneous dal some people do, but I prefer a mix of whole and slightly broken lentils.
Practical tip: If you prefer an ultra silky texture, use a hand blender briefly after cooking to slightly mash some portion, but don’t puree everything.
Common mistake: adding acidic ingredients (like tomatoes) before the lentils are soft. Acid slows down the softening process. Wait to add tomatoes until after the lentils are cooked.
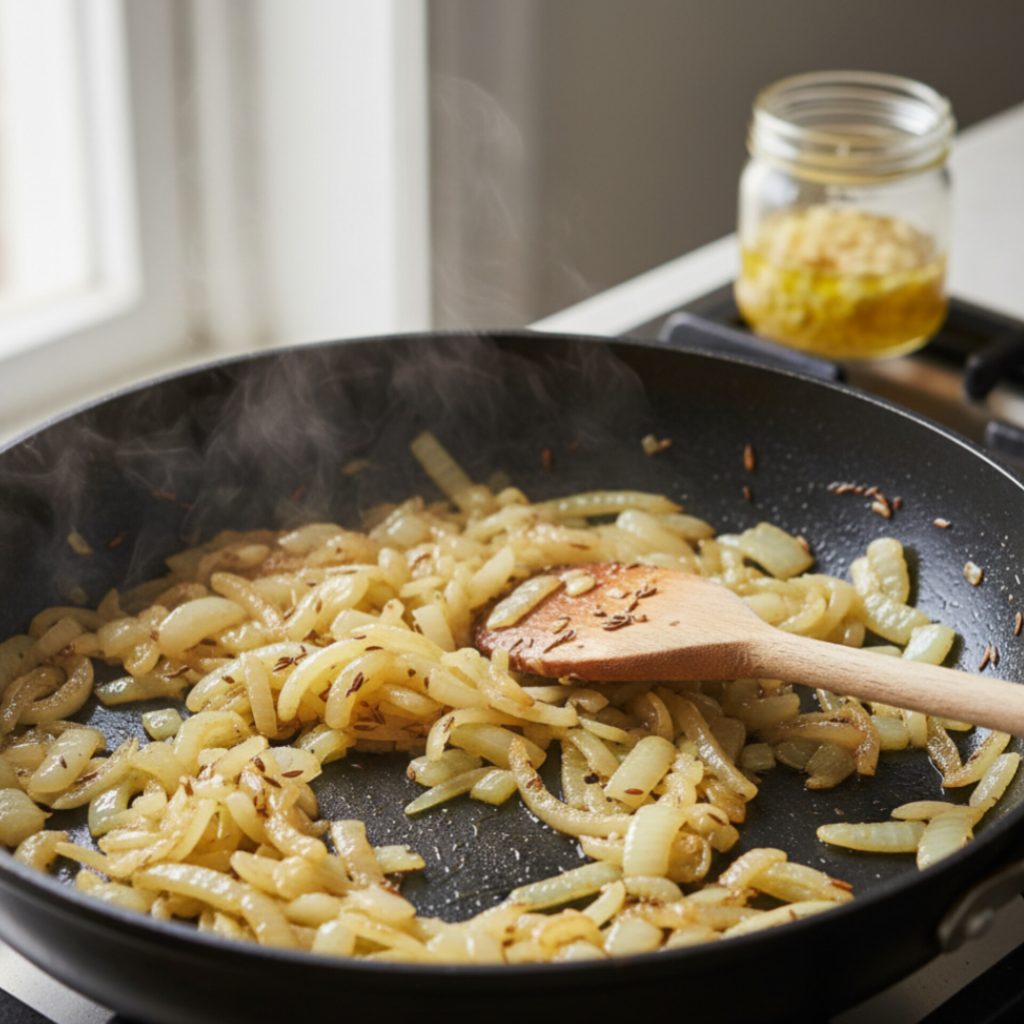
Step 3: Prepare the onion-tomato base (the one that carries the flavor)
Heat 2 to 3 tablespoons of ghee or butter in a wide, heavy pan. Add cumin seeds if you like that initial pop (I do). When they sputter, add the chopped onions. Keep the heat moderate and cook the onions slowly you want them golden, not brown. Low and steady gives a sweeter result.
Sensory cues: the pan will smell like sweet cooked onion, and the edges of the onion pieces will look translucent and soft. If the pan starts to smell burnt, lower the heat and add a splash of water to deglaze.
Add ginger and garlic, cook briefly until raw smell disappears. Then add the tomato puree and simmer until the mixture thickens. You want a fragrant, glossy masala that clings to the back of a spoon.
Practical tip: use a wooden spoon. Not because metal is evil, but because it’s what my grandmother used and I like that comfort. If your tomato puree is too watery, simmer until reduced if it’s too thick and sticking, add a tablespoon of water and keep stirring.
Step 4: Spice timing and layering flavors
Season the onion tomato base with salt, red chili powder to taste, turmeric (just a pinch), and a bit of garam masala (or you can add garam masala later at the end for fragrance). If you toast the spices briefly in the hot oil before adding tomato, they will bloom and taste brighter.
Sensory cues: you should get a momentary puff of warm, nutty spice aroma. The mixture will darken slightly and smell complex the smell should make you happy and a little impatient.
Practical tip: don’t add too much chili powder early on it concentrates as it reduces. You can always adjust heat later.
Common mistake: over spicing at once. Add in layers. Taste as you go.
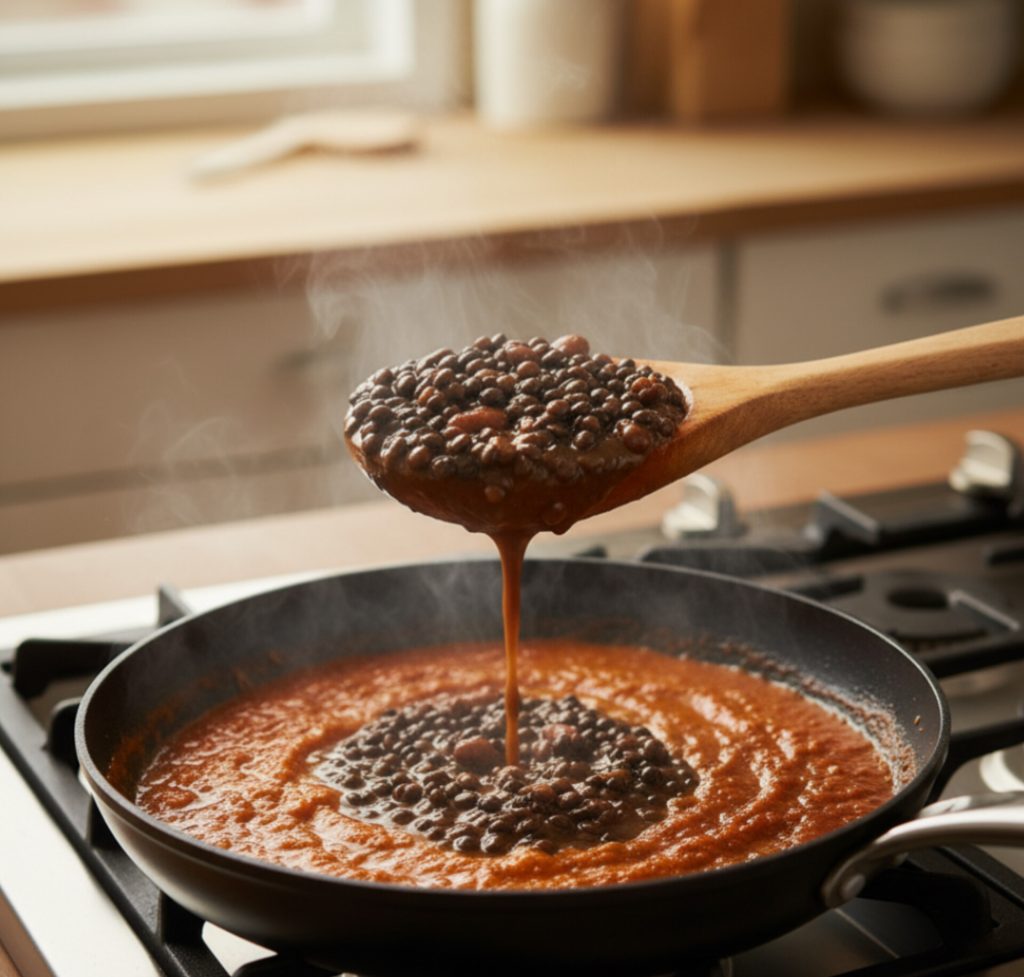
Step 5: Marrying the lentils with the masala
Once your lentils are tender, ladle them into the pan with the masala. Add a cup or two of the reserved cooking liquid you want a stew like consistency at this point because the dal will thicken as it simmers.
Stir gently to combine. Now the patience part begins: simmer gently on low heat for at least 45 minutes, preferably longer. Stir now and then to prevent sticking. If the gravy becomes too thick, add more of the cooking liquid or water. If you simmer with the lid partially on, you’ll trap steam and keep things moist without losing too much volume.
Sensory cues: over time, the mixture should smell deeper, almost smoky and buttery. Tiny bubbles will break slowly on the surface. The color will become a deep, comforting brownish-maroon.
Step 6: Low and slow finishing the butter and cream moment
After simmering and coaxing the flavors for 45 minutes to two hours (yes, two hours is glorious), finish with butter and cream. Add 2 to 3 tablespoons of butter and a splash (2 to 4 tablespoons) of cream depending on how indulgent you feel. Stir gently and let the butter melt into little pools that glisten.
Sensory cues: the aroma will become richer, with a pleasant dairy sweetness. The texture should be velvety. If you swish a spoon through it, it should ribbon a bit and slowly merge back.
Practical tip: some home cooks stir in beaten yogurt or cashew paste as a substitute for cream for a different kind of silkiness. If using yogurt, temper it first so it doesn’t curdle.
Common mistake: adding all the cream at once at high heat. Turn off the flame or keep it very low before adding cream that avoids splitting.

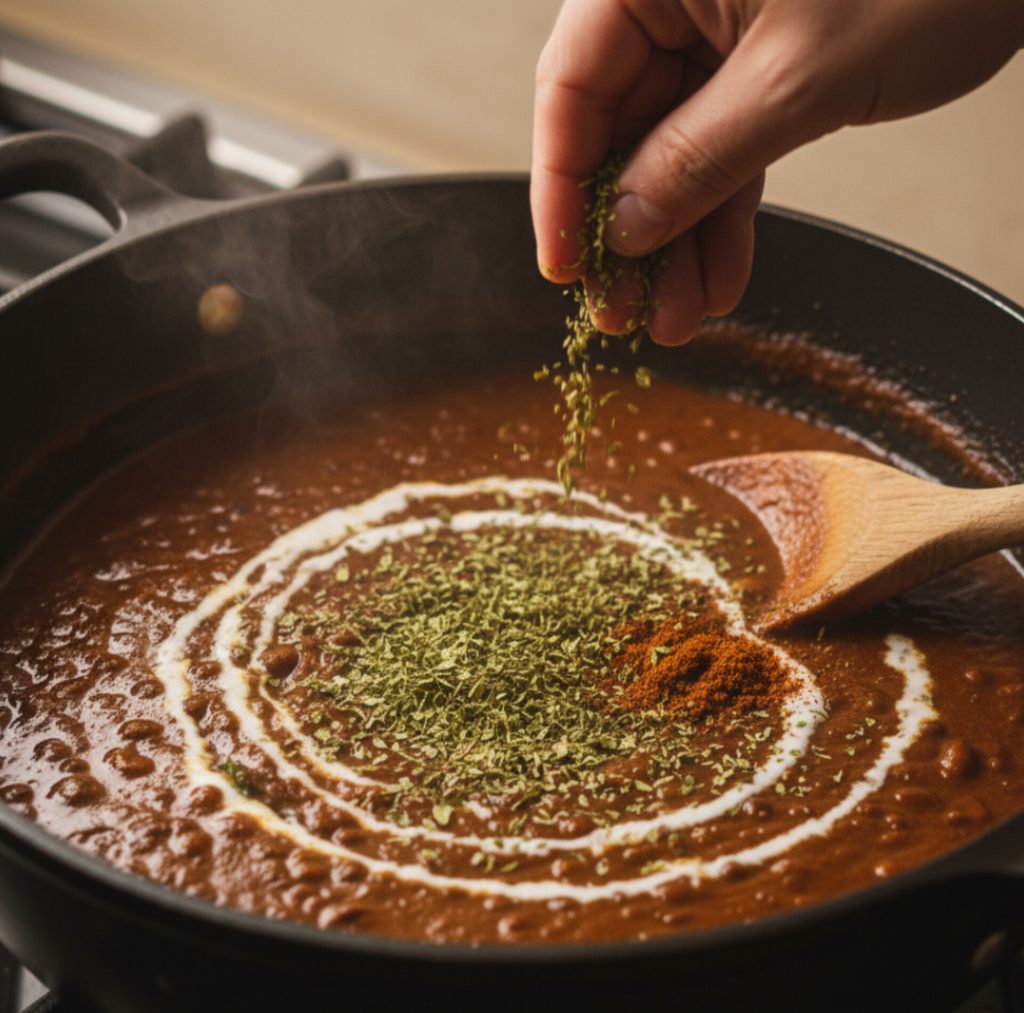
Step 7: Aromatics and the final flourish
Sprinkle crushed kasuri methi and a pinch of garam masala at the very end. Kasuri methi gives that signature, slightly bitter-herb aroma that really says “home-cooked North Indian dal.”
Sensory cues: a whiff of kasuri methi should make your eyes widen a little. It’s an odd and wonderful smell earthy and floral in a way.
Practical tip: crush the dried fenugreek between your palms directly over the pot so the aroma hits the dal fresh.
Step 8: Rest, taste, and correct
Let the dal sit for 10 minutes off the heat. Taste for salt and adjust. If it tastes flat, a squeeze of lemon can brighten (I use lemon occasionally, not always). If it’s too rich, stir in a spoonful of plain boiled water and simmer a minute.
Practical tip: the dal always tastes a degree better the next day. If you can, make it a day ahead, refrigerate, and reheat gently. The flavors harmonize overnight.
Detailed, step by step recipe card (for cooks who love structure):
Ingredients (serves 4 to 6):
- 1 cup whole urad dal (black lentils) soaked overnight
- ¼ cup rajma (kidney beans) soaked overnight
- 3 tbsp ghee or unsalted butter (plus extra for finishing)
- 1 large onion, finely chopped
- 3 to 4 cloves garlic, minced
- 1-inch ginger, minced
- 2 cups tomato puree (about 3 medium tomatoes, pureed)
- 1 to 2 green chilies, slit (optional)
- 1 tsp cumin seeds
- 1 tsp red chili powder (adjust to taste)
- ½ tsp turmeric powder
- 1 to 2 tsp garam masala (see notes)
- 1 to 2 bay leaves
- 1 tsp salt or to taste (adjust later)
- 2 to 4 tbsp heavy cream (adjust to preference)
- 1 tsp kasuri methi, crushed
- Fresh cilantro for garnish (optional)
See Fast:
- Soak dal and rajma overnight. Drain and rinse. (See Step 1 above for tips.)
- Cook lentils and rajma in a pressure cooker with 4 to 5 cups water, a bay leaf, and a pinch of salt until tender (approx. 20 to 25 minutes on medium). Reserve cooking liquid. (See Step 2.)
- In a heavy pan, heat ghee/butter. Add cumin seeds, then onions. Sauté slowly till onions are golden. Add ginger and garlic; cook until raw aroma disappears. (See Step 3.)
- Add tomato puree and cook till oil separates and the masala thickens. Add red chili, turmeric, and half the garam masala. (See Step 4.)
- Add cooked lentils to the pan with 1 to 2 cups of the reserved liquid. Stir, bring to a gentle simmer. Cook for 45 minutes to 2 hours on low heat, adding water as needed. (See Step 5.)
- Finish with butter and cream, then crushed kasuri methi and remaining garam masala. Simmer 5 more minutes. (See Step 6 & 7.)
- Turn off heat, rest for 10 minutes, taste and correct. Garnish with cilantro if using and serve with warm naan or rice. (See Step 8.)
Variations and helpful swaps (because kitchens aren’t one size fits all):
- Dairy free version: Replace cream with coconut milk (full fat). Use oil instead of butter. It’ll be different less buttery but still comforting.
- Vegan twist: Use plant-based butter or extra ghee substitute and coconut cream. Add a small roasted tomato paste to get umami.
- Quick version: Use canned black lentils or pre cooked lentils, and simmer with the masala for 20 to 30 minutes. Add butter at the end. It’s a shortcut for weeknights.
- Smoky dal (dhungar method): For an authentic smoky aroma, once the dal is nearly done, place a small metal bowl in the dal, put hot charcoal in the bowl, drizzle a little ghee over the charcoal and cover the pan immediately. The smoke will infuse the dal. Be careful it’s dramatic and very effective.
- Nutty cream substitute: If you avoid dairy, soak cashews in hot water for 30 minutes, blend to a paste, and add as a finishing cream.
Troubleshooting what can go wrong and how to fix it:
- Lentils won’t soften: Could be old lentils, insufficient soaking, or adding tomatoes too early. If stuck, boil them longer with a pinch of baking soda not much, half a teaspoon can help soften stubborn lentils. Rinse well after.
- Gravy is too thin: Simmer longer uncovered to reduce. Alternatively, mash a few lentils against the side of the pan to thicken naturally.
- Gravy is too thick: Add reserved cooking liquid or hot water. Adjust salt after thinning.
- Taste is flat: Add a pinch of salt, a squeeze of lemon, or a touch more garam masala. A small knob of butter at the end brightens a flat pot in an almost magical way.
- Cream splits: Lower the heat before you add cream, or mix cream with a little warm dal liquid first (tempering).
Serving suggestions and pairings:
Dal makhani loves company. Here are my favorite pairings:
- Butter naan or lachha paratha the classic and obvious choice.
- Jeera rice cumin scented basmati pairs beautifully if you want something less buttery than naan.
- Simple kachumber diced cucumber, tomato, red onion with lemon and salt cuts through the richness.
- Pickles and papad an acidic pickle or a crunchy papad contrasts the softness of dal.
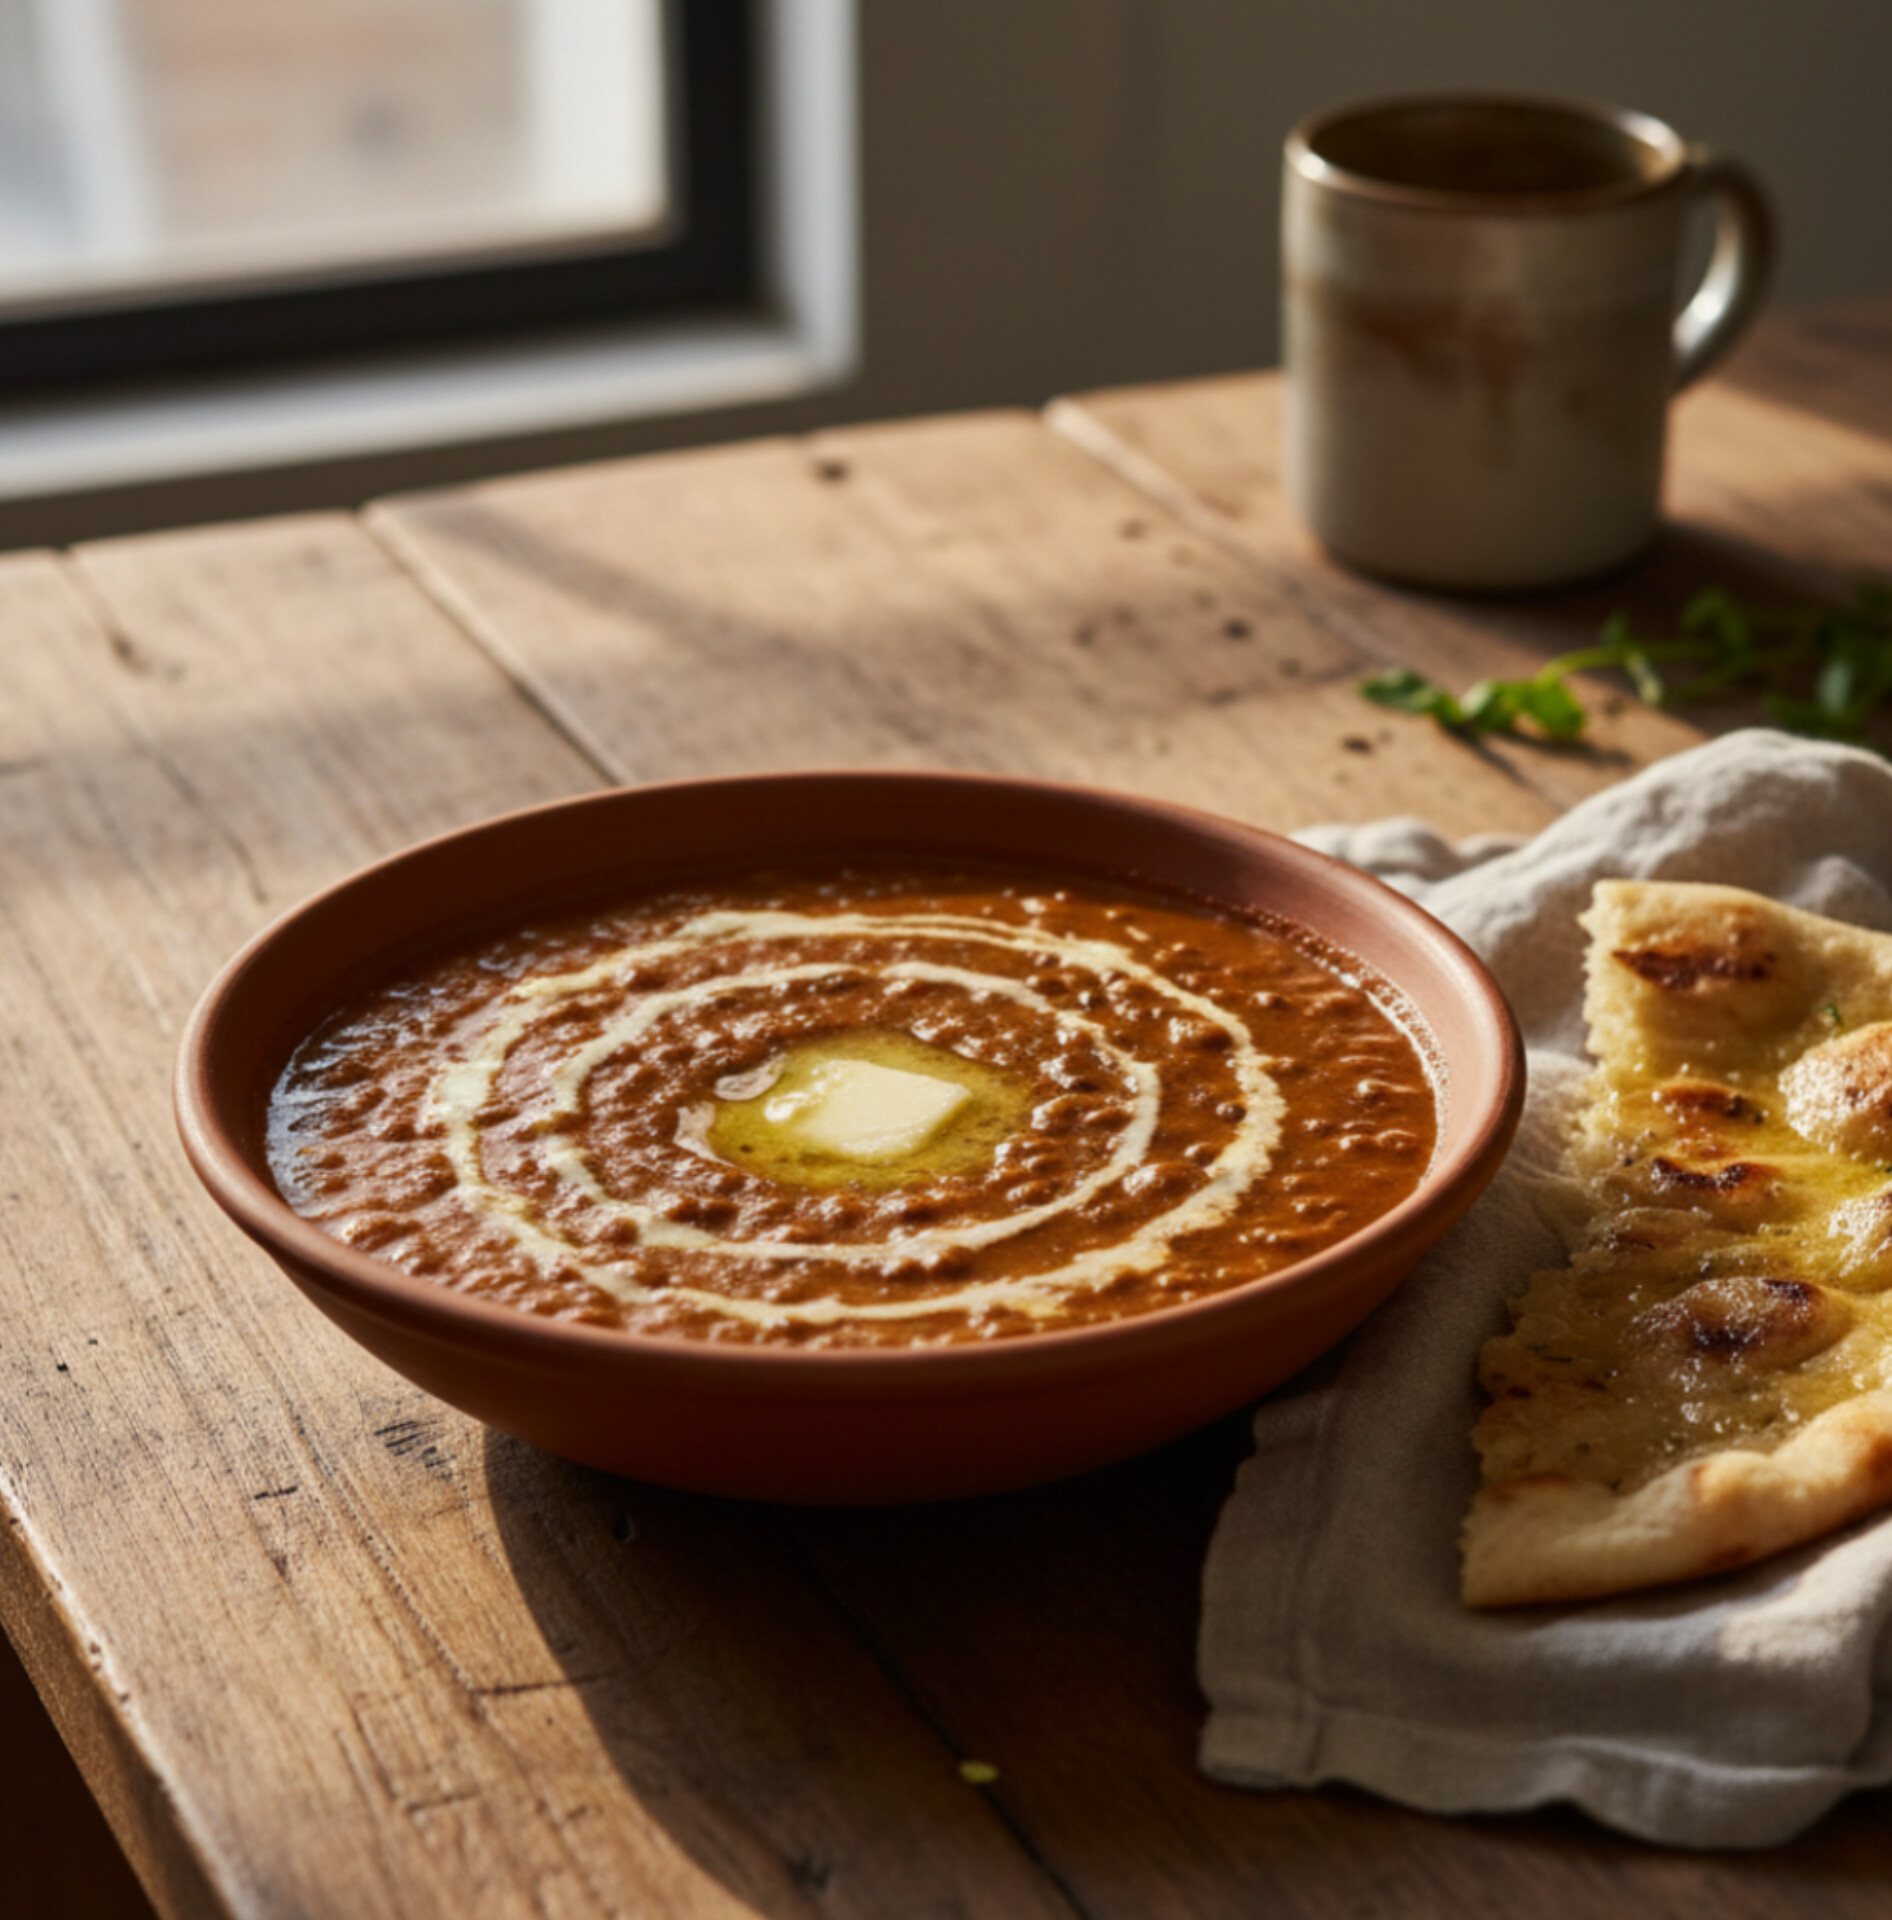
A fun home style serving note: when I serve this at home, I ladle the dal into a shallow bowl, add a tiny swirl of cream, a sprinkle of chopped coriander, and a dollop of butter that melts as guests dig in. It’s a small theatrical touch that always gets compliments.
How to store and reheat (and why leftovers are better):
Store cooled dal in an airtight container in the fridge for up to 4 days. It actually tastes better the next day because the flavors meld. For freezing, portion into airtight containers and freeze for up to 3 months.
Reheating: gently rewarm on the stove with a splash of water or reserved cooking liquid to loosen it. Don’t blast it in a microwave on high that’s how you overcook and lose nuance. Reheat slowly, stir, finish with a little extra butter or cream if desired.
My little imperfections and lessons (the honest kitchen confessions):
I once tried to impress a dinner guest by doubling the cream and skipping the slow simmer. The result was cloying and embarrassing. Lesson learned richness without balance is just heavy food. I also learned to not rush the onions; when sautéed patiently, they give a sweet backbone that no spice jar can replicate. One more thing I don’t always get exactly the same color or depth each time, and that’s okay. My pot varies with the season, the tomatoes, and how impatient I am. Aim for flavor, not perfection.
Final notes & a few extra tips for obsessive cooks:
- If you want a super glossy finish, a small knob of butter right before serving does wonders.
- Toast whole spices briefly before grinding to boost their flavor.
- If your tomatoes are insipid, add a teaspoon of tomato paste for umami depth.
- Taste as you go salt is the simplest way to transform the pot.
- Don’t be afraid to make the dish your own fewer chilies, more cream, whatever makes you comfortable.